
Categories will be used to classify your assets or inventory. To add your categories, see https://www.onmarss.co.za/?knowledgebase=1-3-setup-categories.
To manage your existing categories, navigate to the Explorer option in the Category menu.
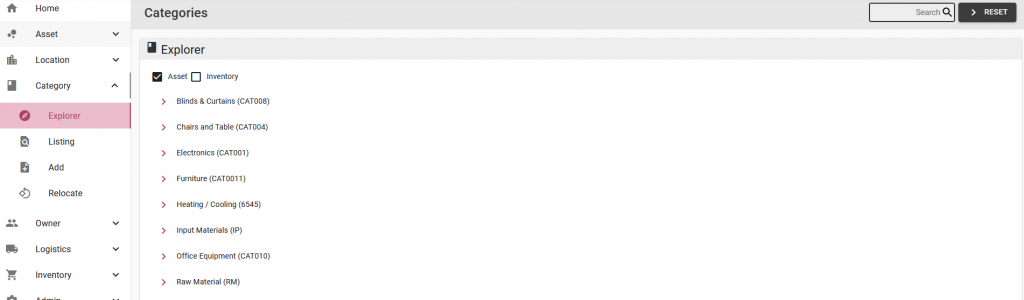
Step 1: The asset check box at the top of the page will be selected by default. Select the edit (pencil) icon button for any of your categories:

Step 2: Update fields on the various tabs:
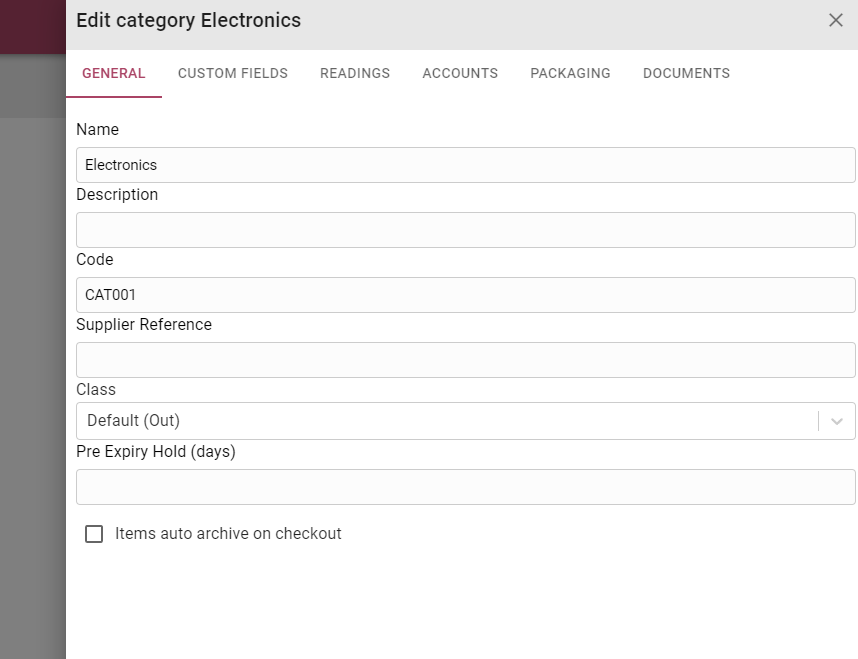
- Pre expiry hold: The number of days before the asset expiry date on which the asset must automatically be placed on hold
- Items auto archive on checkout: once assets linked to this category is checked out it will automatically archive
- Readings: Enter field names for readings, reading can be recorded for assets on the MARSS mobile app
- Accounts: Link financial accounts
- Inventory: Link inventory category types to the asset category
- Documents: Upload category documents or an image to set as the category thumbnail, any asset linked to the category will display the category thumbnail, unless an thumbnail is set for the asset on Asset Documents
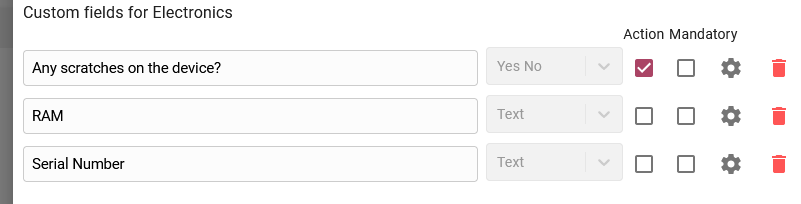
Step 3: To add custom fields for a category, select the Custom Fields tab:

Enter a new custom field name, select the type of field, and select if the custom field must be displayed during the asset action process and if the field must be mandatory (force users to complete the field). Once the fields are complete select the add + button:

To link the custom field to asset actions, select the setting icon button for one of the existing custom fields with the action check box:

Select one of more of the asset action types to link to the custom field. The custom field will be displayed during the asset action process:
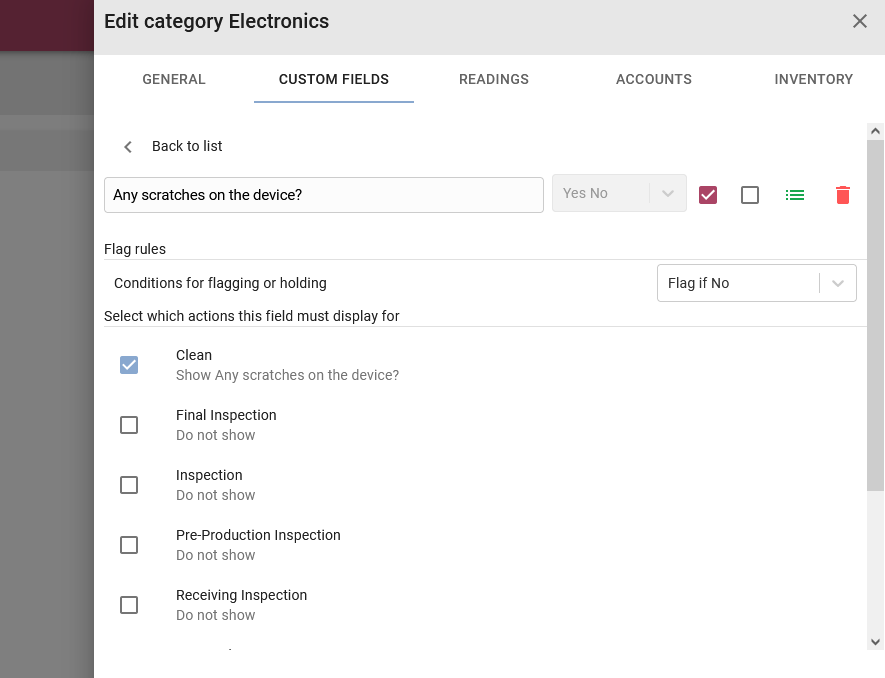
- Select ‘None’: If the custom field value must not result in any further action
- Select ‘Flag if No’: If the custom field value is ‘No’, the asset will automatically go on hold (only for Yes No type of custom fields)
- Select ‘Flag if Yes’: If the custom field value is ‘Yes’, the asset will automatically go on hold (only for Yes No type of custom fields)
Once complete, select the Back to list option at the top of the tab to return to the custom fields tab.
To remove a custom field, select the bin icon:
Step 4: Select the Save and Close button to update the category OR select the Cancel button, then the category will not be updated.
